Skip to content
medienstudio.net
Menu and widgets
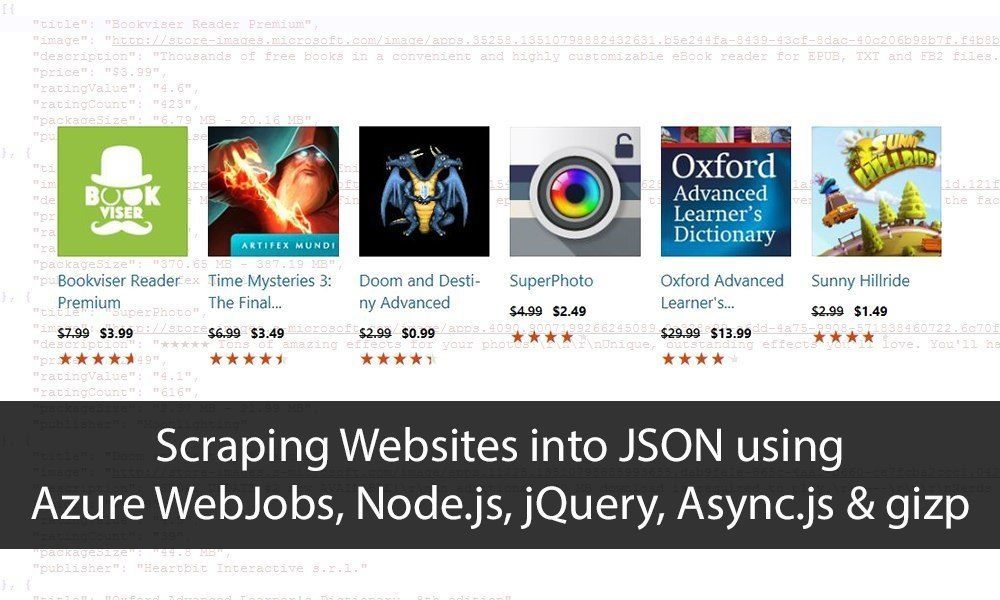
Scraping Websites using Azure WebJobs, Node.js, jQuery, Async.js & gizp