In a lot of IoT solutions Gateways play important roles. They can help connect downstream devices to the Cloud through Access Points, provide offline caching capabilities or translate protocols that are not suitable for direct internet access like Bluetooth. With Azure IoT Edge Microsoft has a great product for these kinds of devices which allows you to deploy custom docker modules for different kinds of tasks like evaluating data on the Edge before sending everything to a connected Azure IoT Hub.
One major usecase for Gateways is the so-called Identity Translation, which will take messages from downstream devices that are not yet associated with an Azure IoT Hub device identity and will wrap these in such an identity before handing them off to Azure. That way you can properly distinguish data from different physical devices inside the IoT Hub. However, for this very important application of the Gateway the Microsoft documentation is more than lacking. There’s a lot of theory, but no actual sample code on how to properly do Identity Translation in Azure IoT Edge. So here’s how we’ve been doing it in one of our recent projects.
As with everything in the IoT Edge Runtime, our solution is made of a Docker-based module that can receive messages from other modules and devices through the IoT Edge routing mechanism. To generate sample data we’re using the Simulated Temperature Sensor module that Microsoft has provided. The Identity Translation Module, which is written in Node.js, will take this data and create an IoT Device client using a connection string that can be set through the containers environment variables.
Let’s take a look at the deployment.template.json file to see how the modules are configured. We can make sure the environment variable is set correctly by passing it right here during the deployment. Since we don’t want to have the connection string inside our source control, we’re reading this from our local .env file by passing the ${SIMULATED_TEMPERATURE_CLIENT_CONNECTION_STRING} placeholder. By default this will send all messages directly to the IoT Hub, not going through the IoT Edge Runtime. You can however set up your device to act as a transparent Gateway and modify the connection string accordingly.
For the SimulatedTemperatureSensor we just need to point to the image location that is provided by Microsoft.
To ensure that the simulated messages get passed to our IdentityTranslationModule we need to adjust the routes in the $edgeHub config:
The full deployment.template.json should look something like this.
IdentityTranslationModule app.js
Now let’s take a look at the actual Identity Translation code. Most of it is just boilerplate code provided by Microsoft when you generate a new module.
The main idea is to check if a connection string was set through the environment variables. If so, messages passing through will get wrapped in their own device identity. Otherwise the module identity will be used to pipe the message to the IoT Hub.
First, we need to get a reference to the Azure IoT Device Client SDK in addition to the ModuleClient. We also define a variable to hold our Device Client instance after it has been initialized.
After the Module Client was initialized successfully, we check the environment variable for the device connection string. If it’s available, we create the DeviceClient instance and store it for later use. Some additional error handling on might be good in case the connection string is malformed.
Lastly we subscribe to new messages passed to our module, read their contents and wrap them into new message objects to be sent with our new IoT Device identity.
And this is what the final code looks like in the app.js.
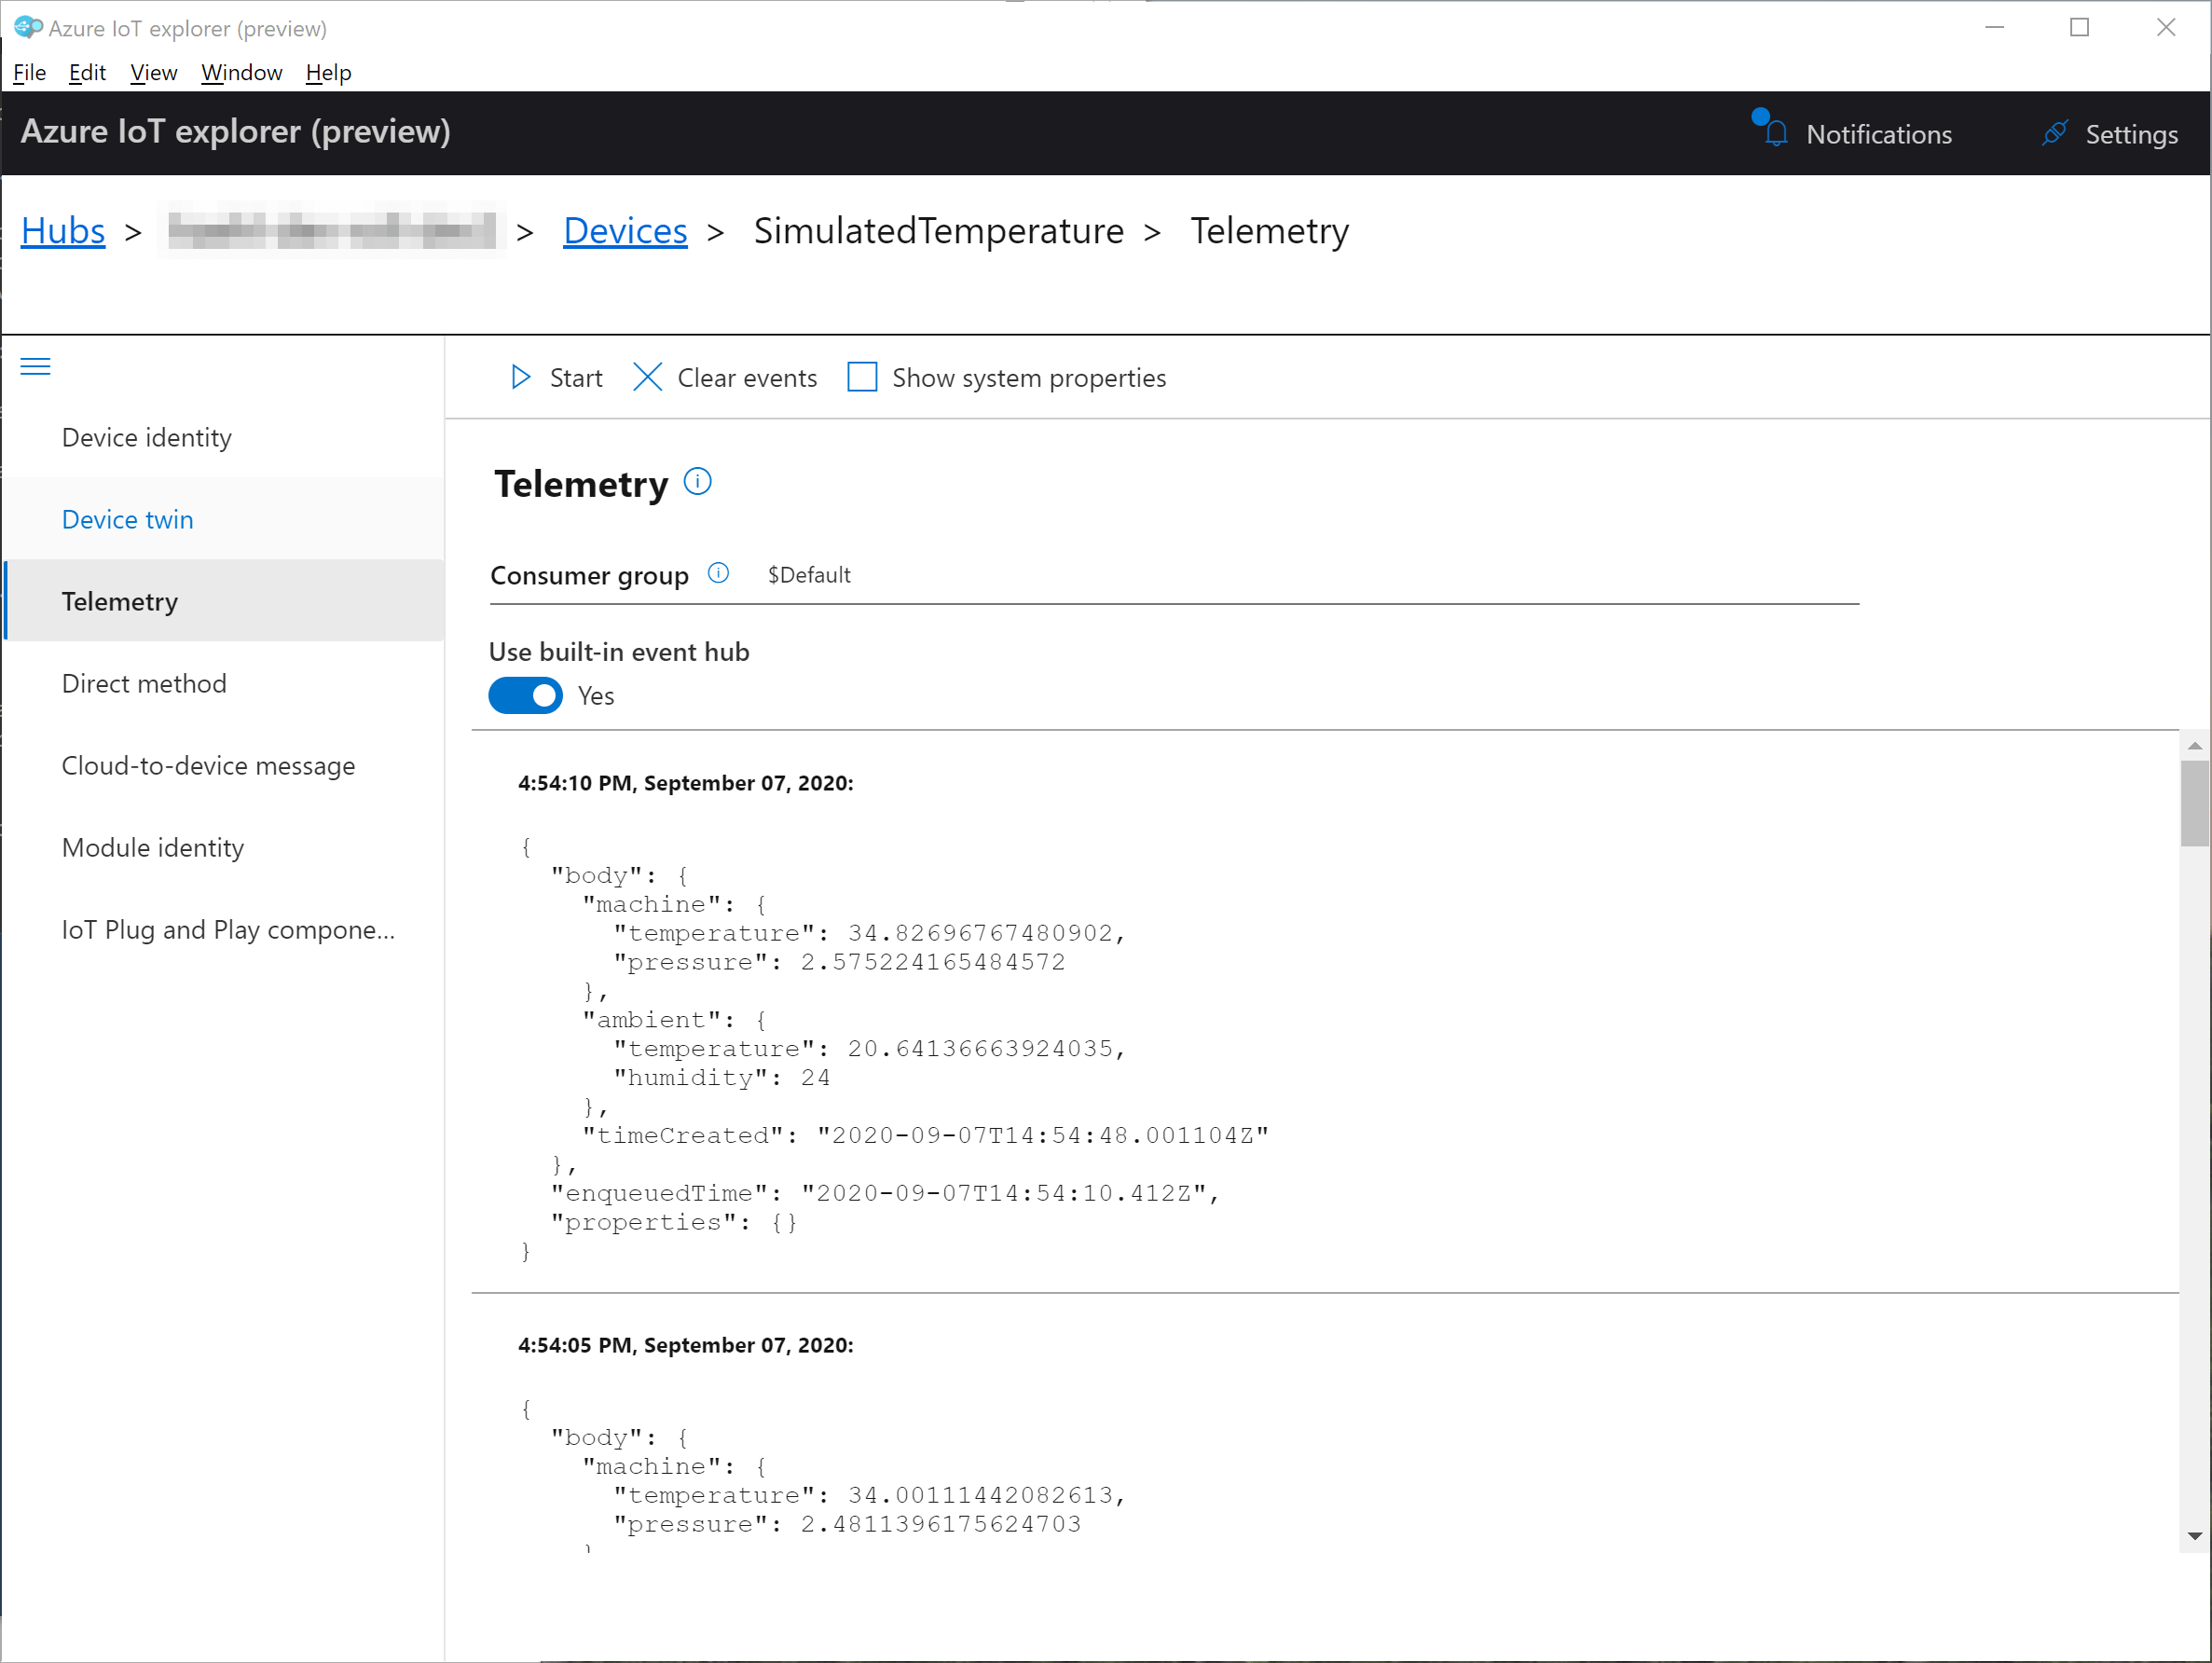
When everyhting is set up correctly, we can see the messages comming into the IoT Hub sent from the correct device identity.
Of course this code can be expanded to map different identities to different sources. Hopefully this blog post provides a good starting point. Please let me know in the comments if you have questions or suggestions to improve this solution.