In this post I will show you how to turn some dynamic data into a static website using a timer-triggered Azure Function (written in nodejs) & mustache with static website hosting for Azure Storage.
For this demo I’ll create a simple, personalized start page showing some headlines I grab from a WordPress site and also adding a few links I often use. There are certainly way more interesting and useful scenarios for this but it should help you get started with your own ideas.
These are the steps we want to accomplish:
- Prepare the mustache templates
- Get the template files and “compile” them for further usage
- Load the data we want to display
- Render the html and upload it to Azure Storage
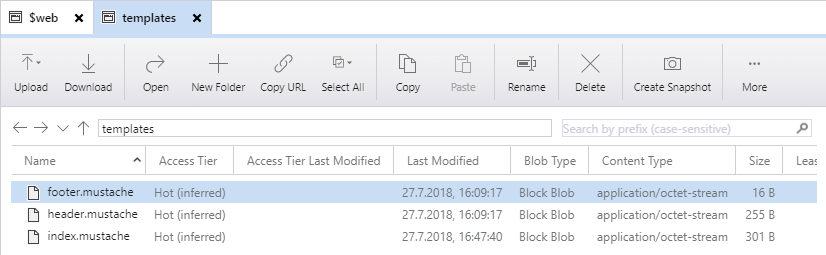
The Mustache Templates
To showcase how you can split your templates into several files I created an index, a header and a footer file. By calling {{> header.mustache}} and{{> footer.mustache}} inside the index these will be merged into one file.
For the news feed we’ll loop through an array of articles, showing the title and adding a link to the page. This is what the file then looks like:
These three files will be put into their own Azure Blob Storage “templates” directory. This way they can be updated independently of the Azure Function code. Also, we can use bindings to read them inside the Function code and don’t have to manually download them.
[fusion_builder_container hundred_percent=”yes” overflow=”visible”][fusion_builder_row][fusion_builder_column type=”1_1″ background_position=”left top” background_color=”” border_size=”” border_color=”” border_style=”solid” spacing=”yes” background_image=”” background_repeat=”no-repeat” padding=”” margin_top=”0px” margin_bottom=”0px” class=”” id=”” animation_type=”” animation_speed=”0.3″ animation_direction=”left” hide_on_mobile=”no” center_content=”no” min_height=”none”]
The Static Website Generating Function
As stated above we’ll be writing our logic in JavaScript. I’ve created a new Function inside Visual Studio Code and added a few npm packages that we’ll be needing:
- request – to download the dynamic content
- mu2 – a Node.js Mustache engine
- azure-storage – the SDK to upload our finished html files to Azure Blob Storage
So now let’s get that data and store it in the mynews variable:
Since we’re setting json to true in the options-object, the response string will be automatically parsed to an object or in this case an array of posts.
After that we’re calling the prepareTemplates() function which will prepare both the header and footer files for later usage. We can access the templates directly from the context.bindings object. Have a look at the functions.json file for how the bindings are configured.
When this is done we can actually render our index site with the content and templates we’ve prepared. We’ll pass our data to the mu.render() function and save the stream output to the pageFile variable. This will now be our html code stored as a string.
After the stream has finished we’ll upload the result to Azure. Technically we could to this using Azure Function’s output bindings. However, that way we don’t have control over the file’s content type which will cause issues in some browsers.
But first we make sure the $web container exists and then create a new Blob from our html string. Here we can also set the correct content type which is ‘text/html’.
And we’re done. You can find the full code on Github. The final result can be seen here (I know, I didn’t put much time into styling this…).